
Easy Custom Canvas Banner Or Sign (DIY Tutorial)

One of my all time favorite projects to do with my classes is to make a custom canvas banner. Kids and adults alike love making handmade gifts and what better gift to give than a custom fabric banner?!
This is the best project to do to celebrate different holidays or just to display your favorite quote. I'm sure you've seen these all over social media and believe it or not, these are super simple to make! And they make a great gift! They are also super cool in a dorm room!
What you'll need to make custom canvas banners
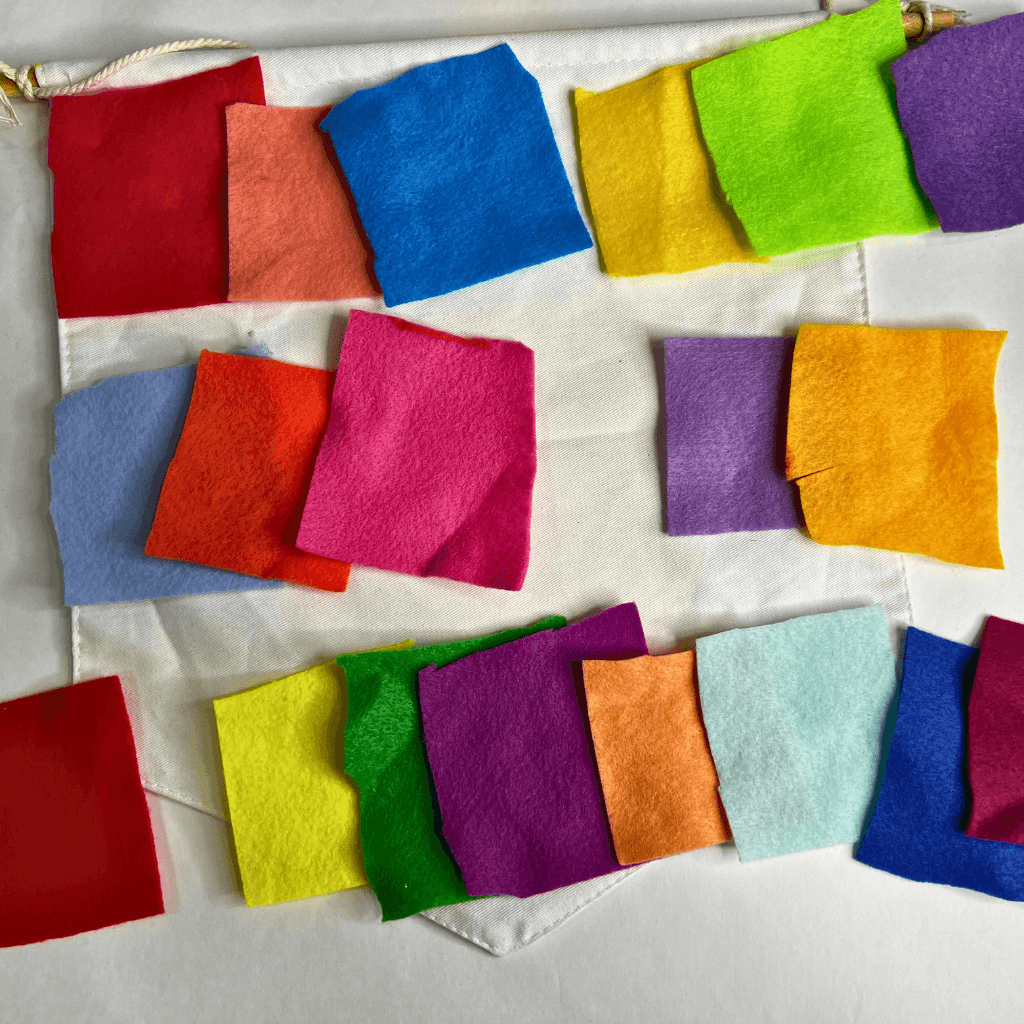
Felt or Heat Transfer Vinyl (iron-on vinyl) or scrap fabric
Cricut (optional) or Silhouette Cameo
Sticker material or vinyl
Needle and Thread (if you decide to sew)
Permanent markers
Dowels
How to make custom banners
While I've done these in my middle grades classes and my teen classes, each year I learn a new tip or trick. Over the course of several subsequent years, you'll perfect the craft with new creative ideas. One thing I've learned the hard way is to not do a mini banner with kids - cutting small areas is a real challenge for them! Though you can make various sizes of banners, stick to larger sizes that'll be easier for them to cut.
1. Make a template
For best results, you'll want to make a template (rough draft) using paper. Trace rectangle canvas banners onto a full page of paper and begin brainstorming your designs.
2. Plan the design
The first thing you'll do is to plan out your design on the paper using markers. Planning out the project minimizes mistakes. Try to make each letter the size you will want it to be on the actual banner.
3. Get ready to cut
Once you've got a plan, you'll want to start preparing your design to be cut. If you do not have a Cricut, you'll want an alphabet template. You can also use alphabet stickers. One mistake I made was to have the students trace stencils onto the felt with permanent marker. The marker always shows on the felt and doesn’t look great. I've learned that printing out stickers with the words and phrases makes the cutting much easier. Tracing is challenging for kids, so using stickers makes life easy.
4. Arrange the stickers
Add the letter stickers to the felt. Each letter sticker goes on a different color felt or you can do all one color.

5. Cut out the letters
Cut around the letter stickers for felt letters.

6. Peel off the stickers
Once all of the letters are cut out, peel the stickers off of the felt.

7. Lay the letters on the banner
Lay the letters out onto the banner in the order you would like for them to be in. Be careful to leave some buffer space around the side of the dowel or dowels for the pole pockets. I like to leave enough room to add a trim at the end.
8. Attach the letters to the canvas
Begin gluing the felt onto the top of the banner first. If you are using HTV or iron-on letters, lay the letters out and use an easy press or heat press to adhere each letter. The main reason to work from the top of your banner down, is so that you can allow the glue to dry without your arm moving any of the letters. Do not adhere the letters to the edges of the banner - leave a little space there and the side of the banner as well!
9. Decorate the banner
Once you've glued on all of the letters, feel free to decorate the cotton canvas using fabric markers, acrylic paint, fabric paint or additional fabric collections. These decorations add the cutest personal touch to your banner. Make sure to use premium materials so your banner will look its best.
10. If you’re sewing…
10. If you plan to sew, use premium quality embroidery threads.
Okay, so now that you've completed your very first banner, try a different style for your next one. Perhaps you'd like a derby style banner? If you love to sew and you prefer to make your own banner; an inexpensive way to make a banner is to use a drop cloth from a home improvement center and a dowel rod. You can still do it this way without sewing and simply hot glue some trim to the sides of the banner so that they do not fray. This can totally still be an iron-on project or not - totally up to you!
Who is this canvas banner project good for?
This might look like a little craft, but its an involved project (as many DIY room decor projects are) - typically takes a few hours from start to finish depending on the population. I love a good project for teens and this is an awesome one! I like to make a new one each season and hang it on my front door, though it's not good for outdoor use in areas where it'll be exposed to the elements (direct sunlight is okay, but it'll fade the vibrant color on fabric banners). If you're a teacher, these banners make great class room decor! You can even add educational elements for extra impact. Maybe one day I'll make it to the pages of Better Homes and Gardens. But until then, I will continue to bring you more DIY gift ideas, perfect to make for your next event!
Do you love getting crafty? Or are you a school teacher, Sunday school teacher or crafting teacher? As a content creator, I am always trying to find new ideas to bring to you! Please feel free to reach out with anything you'd love for me to make. From mod podge to plaster, I've done it all!