
The Complete Guide to Making DIY Resin Coasters

The Complete Guide to Making DIY Resin Coasters
Lately I've been making resin coasters for everyone and their mother. I love swapping out beautiful coasters for each new holiday. They also make great gifts for that special person in your life. If you've always wanted to make your own coasters and don't know how, this is the the tutorial for you!
Materials you'll need to make resin coasters:
Decorative elements (alcohol ink, resin dyes, mica powder, glitter, natural elements, acrylic paint, bottle caps or your own flowers (anything you want to include)
Nitrile Gloves (to protect your hands)
Heat gun or torch (to eliminate bubbles)
Drop cloth or protective covering (for your workspace)
Resin package instructions
digital scale (optional)
toothpicks for spreading resin and for popping bubbles.
tweezers to move resin around
Step-by-Step Instructions
If you’ve made resin coasters before, check out my list of 20 colorful DIY resin coaster ideas. If you’re new to resin, follow the steps below to get the hang of making resin coasters for beginners.
Step 1: Prepare the work surface & materials

Cover your work surface with a plastic or vinyl tablecloth. Personally I prefer to use a disposable tablecloth even though it isn't the most eco-friendly.
Organize all materials so that the items you'll need the most are accessible. I like to have the following on my workspace:
stir sticks
graduated plastic cups
silicone molds
rubbing alcohol
gloves
respirator
lint free cloth or rags
heat gun or torch
decorative elements
molds
Step 2: making your coaster
First decide which resin mold you prefer to use. Be sure it is clean and dry. The best way to clean a resin mold is by using rubbing alcohol and a lint free cloth.
Put on your respirator and disposable gloves. Work in a well ventilated space by opening windows and/or doors.
Measure your resin. Most resin brands come with one part hardener and one part resin. You will want to use equal amounts of resin and hardener for most brands, but check on your own each and every time.
There are two ways to measure resin. Here are the two methods:
Measure in a measuring cup - this method you pour resin into the cup according to the manufacturers instructions. This is very important because several resin brands have different ratios.
For example, some companies will have you measure your resin using a one to one ratio. Others might have a two to one ratio. Always read to make sure you are measuring properly. Most beginners use measuring cups for working with resin.
Measure by weight - with this method you will measure your resin on a scale. The most important thing is to make sure that each part of resin is measured on the scale and has the same weight.
Most beginning resin artists do not use this method, but it is the most accurate and yields the best results.

Once you've measured your resin, you will pour both cups of resin into a bowl or container. I prefer to use old yogurt containers or tupperware containers.
Begin to mix. With some brands you will be able to see the two parts mixing together. For some other brands, the results will be different. You will want to mix slowly and carefully to avoid getting loads of tiny bubbles.
Typically you will need to mix for at least five minutes to yield the best results. I like to use my stir stick to scrape the sides and bottom of the cup. Sometimes mixing in a figure eight works best.
Pour a thin layer of resin into the silicone mold. Since I use resin that takes 8 hours to cure, I can take my time when working. I like to pour the resin and let it sit for a good 45 minutes before adding anything else to my coasters.
You can tap the surface of the resin using a toothpick after about 45 minutes. If the resin is feeling thicker or tackier, you can move on to the next step. If it still feels like a runny liquid, wait a bit longer. Also, you can now use the heat gun or the torch to remove any bubbles. Always use caution with heat.

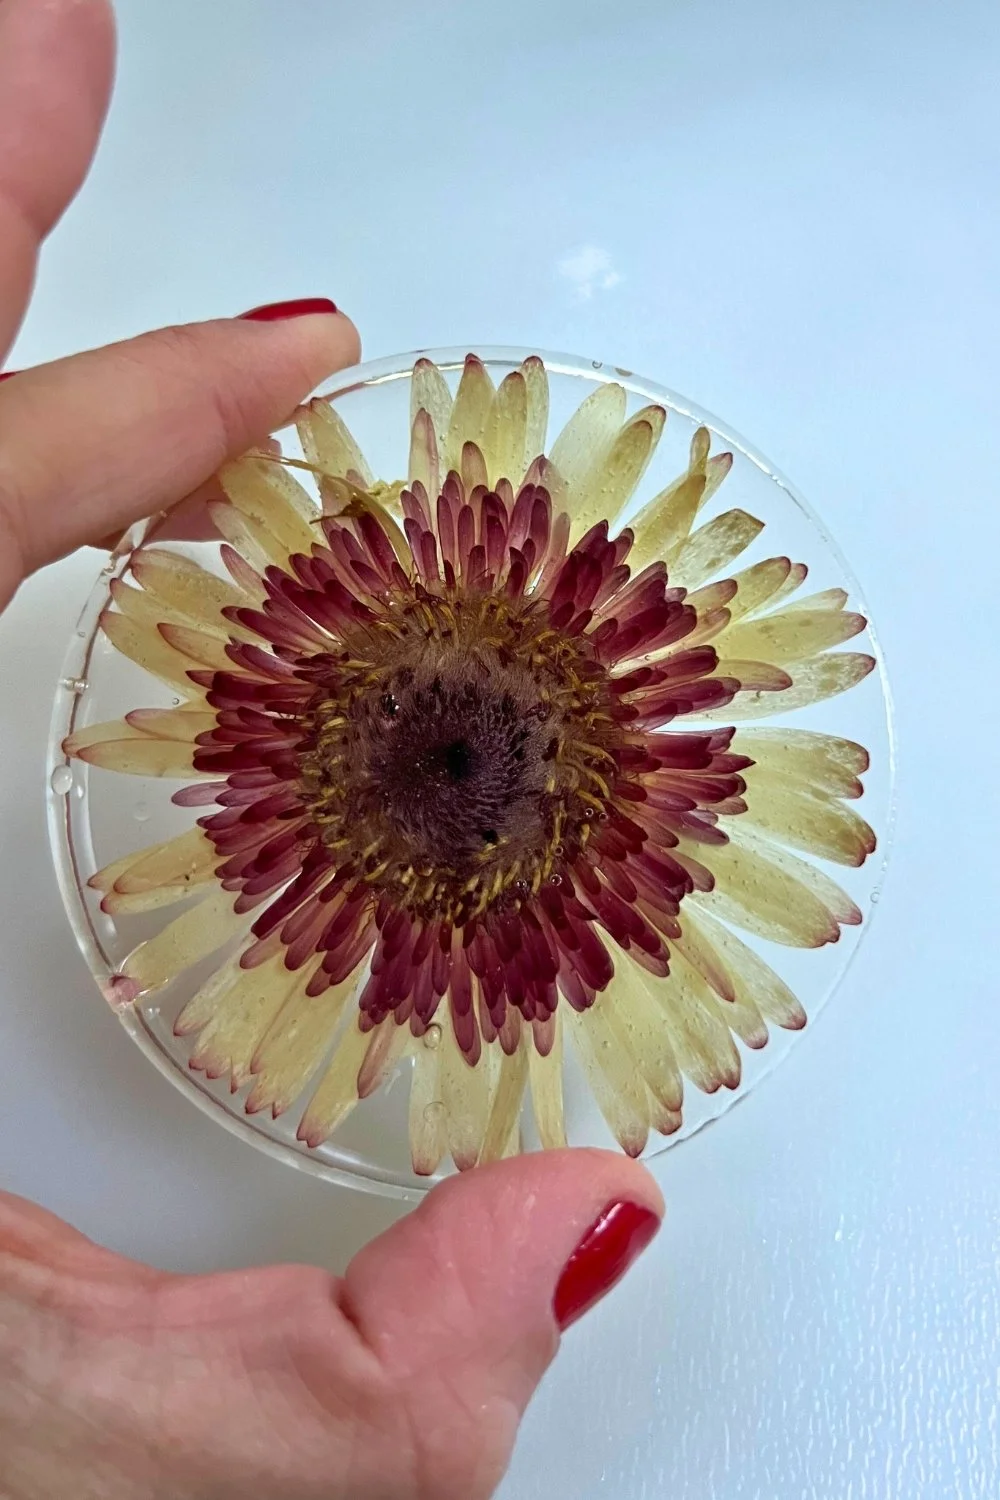
Now that your resin has been sitting in the mold for a bit, you can begin adding colors and inclusions. For my coasters, I used different halloween themed items to fill each coaster.
However, if you want to add alcohol inks, this is the time to do it. You can either add the elements using tweezers or you can pour the elements into the cup and get each item coated completely.


Fill the mold to to the top with the resin mixture and let cure. Make sure the temperature of your room matches the manufacturer instructions.
Use the torch or the heat gun to remove any air bubbles from the mixed resin.
Step 3: Allow resin to cure
Let the resin set and cure: Follow the curing time specified in the instructions. You will also want to check the room temperature. If the room is too hot or cold, the resin will not properly cure. If this is the case, you can use a spaceheater to warm the room. Let sit for at least 24 hours, depending on the resin used.
Step 4: Take the coasters out of the mold
Carefully remove from the molds: Be careful not to bend the resin. Sometimes it is best to keep the DIY coasters in the mold for longer than needed to make sure the resin cures level and straight.
Step 5: Finishing Touches
Sand any rough edges: Use sandpaper or a grinder or a dremel tool to remove any unwanted resin.
Coat your coaster in elmer's glue or school glue: you can coat all of the sides that you do not want to change. Mix a bit more of the equal parts of resin and pour a finishing coat on top of the rough part of your resin coaster project.
This will ensure a smooth finish. Some pieces come out of the mold and look great, but if you need to make your resin coasters smoother, it is a great idea to add a little bit more resin on top.
Step 6: Clean and Enjoy
Wipe down the coasters: Use a clean cloth to remove any dust. Add felt or feet to the coasters if desired.
Enjoy your new coasters: Use them for drinks or give them as gifts!
Tips:
Experiment: Try adding different elements and testing out different products. For example, try different ways to add your own spin on the drink coasters. The possibilities are endless.
Also, try making your own mold using objects around your home. There are endless amounts of coaster design ideas online. Experiment with a different shape mold and see what happens. Try out natural objects like twigs or dried leaves.
Happy Crafting!